

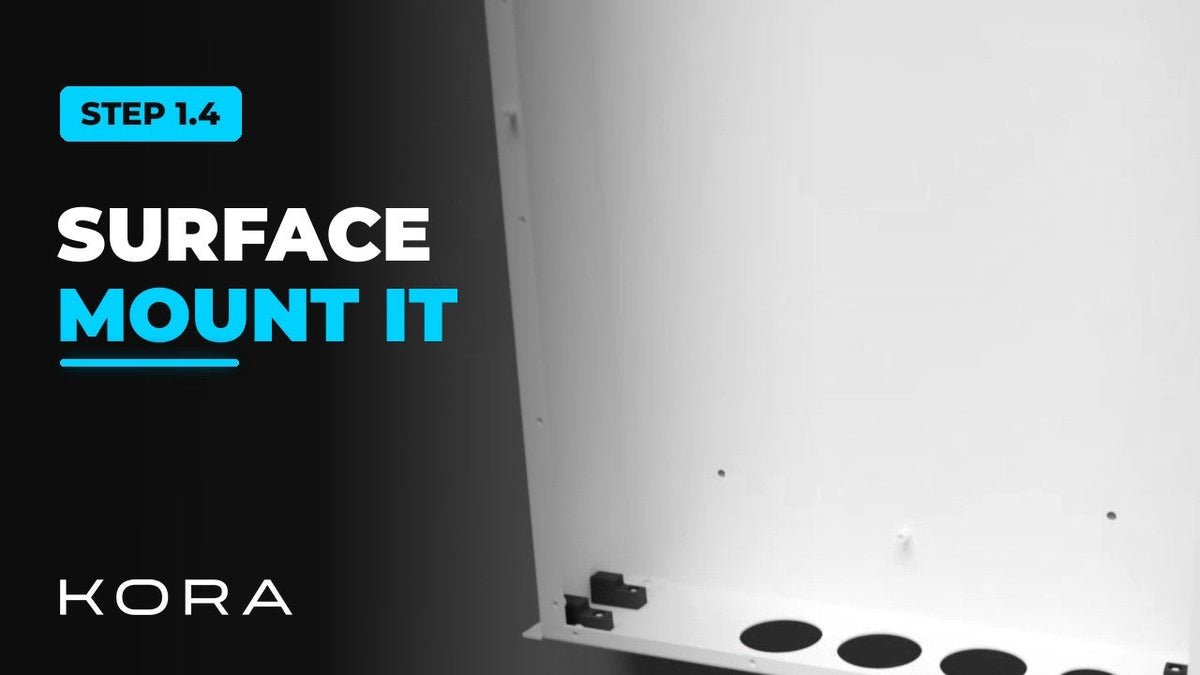
For an outdoor installation, or any install where the panel sits on the wall, surface mount the Smart Panel using its weatherproof exterior shell.
Keep high-voltage and low-voltage conduit entries separate, and only open the approved knockout locations. The main assembly is heavy, so plan for two people when it goes into the shell.
Key steps
- Start with the exterior shell, the weatherproof outer box
- Cut conduit openings only at the approved knockout locations
- Use the included drilling template to mark the wall for mounting
- Insert the Smart Panel main assembly into the exterior shell
Part of the Kora Smart Panel installation series for licensed electricians installing the Kora Founders Edition. Previous: 1.3 Surface Mount vs. Flush Mount. Next: 1.5 Flush-Mount Recess and Backing.



Share:
Previous
Kora Founders Edition Install 1.3 | Surface Mount vs. Flush Mount
Next
Kora Founders Edition Install 1.5 | Flush-Mount Recess and Backing