Step 1 Mounting
Step-by-step videos for licensed electricians installing the Kora Smart Panel and Powerblocks, each paired with the matching pages from the installation manual.
-
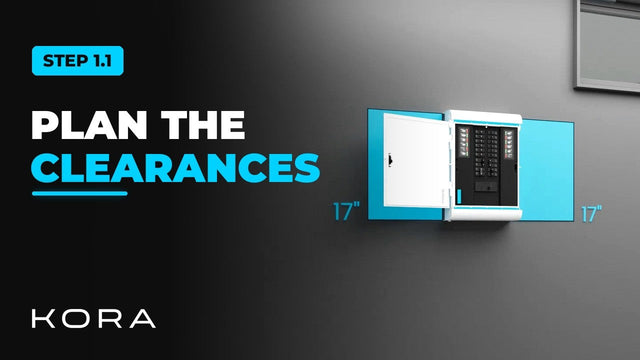
Kora Founders Edition Install 1.1 | Smart Panel Clearances and Location
Plan where the Kora Smart Panel goes and confirm the working clearances before anything goes on the wall.
Watch -
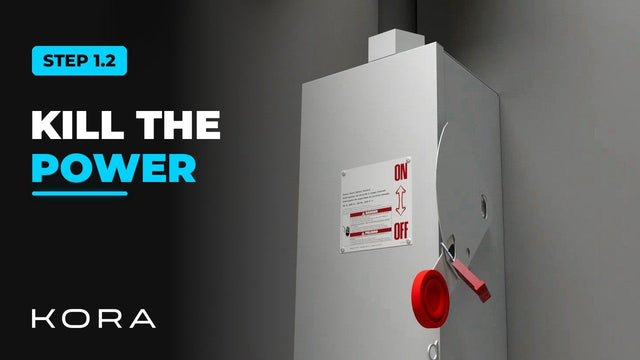
Kora Founders Edition Install 1.2 | Kill the Power: Lockout/Tagout
Shut off the service and make the work area safe before you touch a single wire.
Watch -
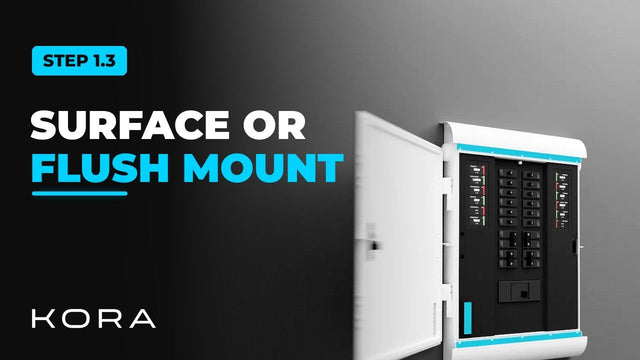
Kora Founders Edition Install 1.3 | Surface Mount vs. Flush Mount
Choose between surface mounting the Kora Smart Panel and flush mounting it into the wall.
Watch -
Kora Founders Edition Install 1.4 | Surface-Mount Installation
Surface mount the Kora Smart Panel using its weatherproof exterior shell.
Watch -
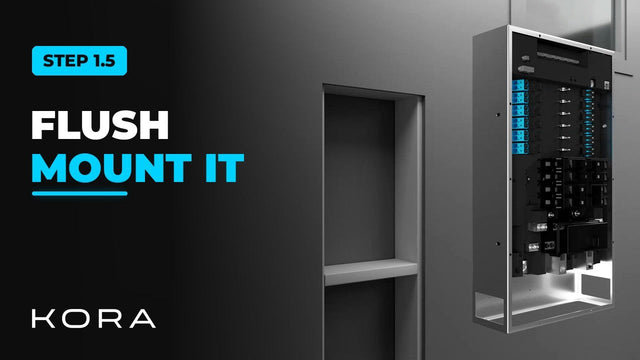
Kora Founders Edition Install 1.5 | Flush-Mount Recess and Backing
Create the recess and add solid blocking to flush mount the Kora Smart Panel indoors.
Watch -
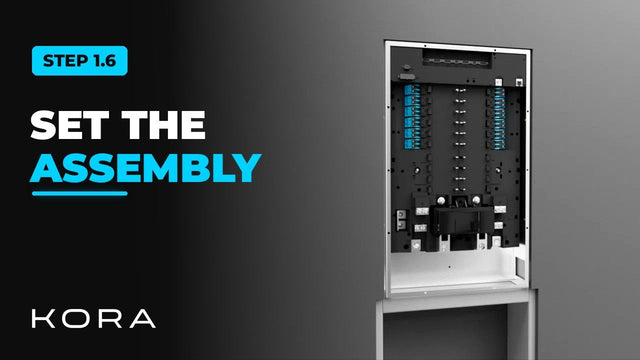
Kora Founders Edition Install 1.6 | Set and Level the Main Assembly
Set the Smart Panel main assembly into the recess, level and plumb it, and lock it down.
Watch -
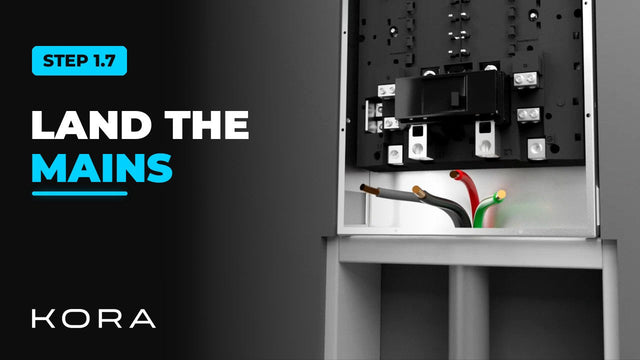
Kora Founders Edition Install 1.7 | Cut, Strip and Land the Mains
Cut and strip your conductors, then land the mains in the Smart Panel's high-voltage zone.
Watch -
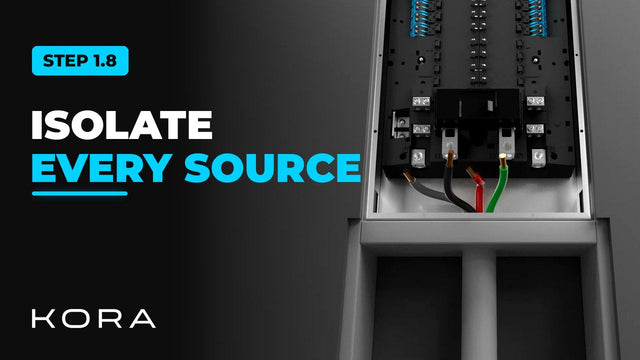
Kora Founders Edition Install 1.8 | Conductor Prep and Isolating Every Source
Prep your conductors and make sure every power source is isolated before you work on them.
Watch -
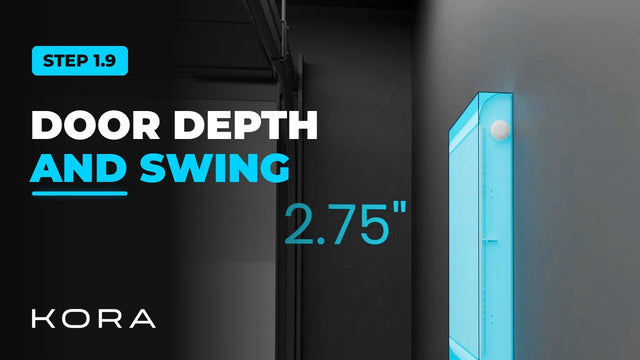
Kora Founders Edition Install 1.9 | Flush-Mount Door Depth and Swing
On a flush mount, the Smart Panel door sits proud of the finished wall. Plan for it.
Watch