Kora Founders Edition Install 1.9 | Flush-Mount Door Depth and Swing

On a flush mount, the Smart Panel door sits proud of the finished wall. Plan for it.

1 min read

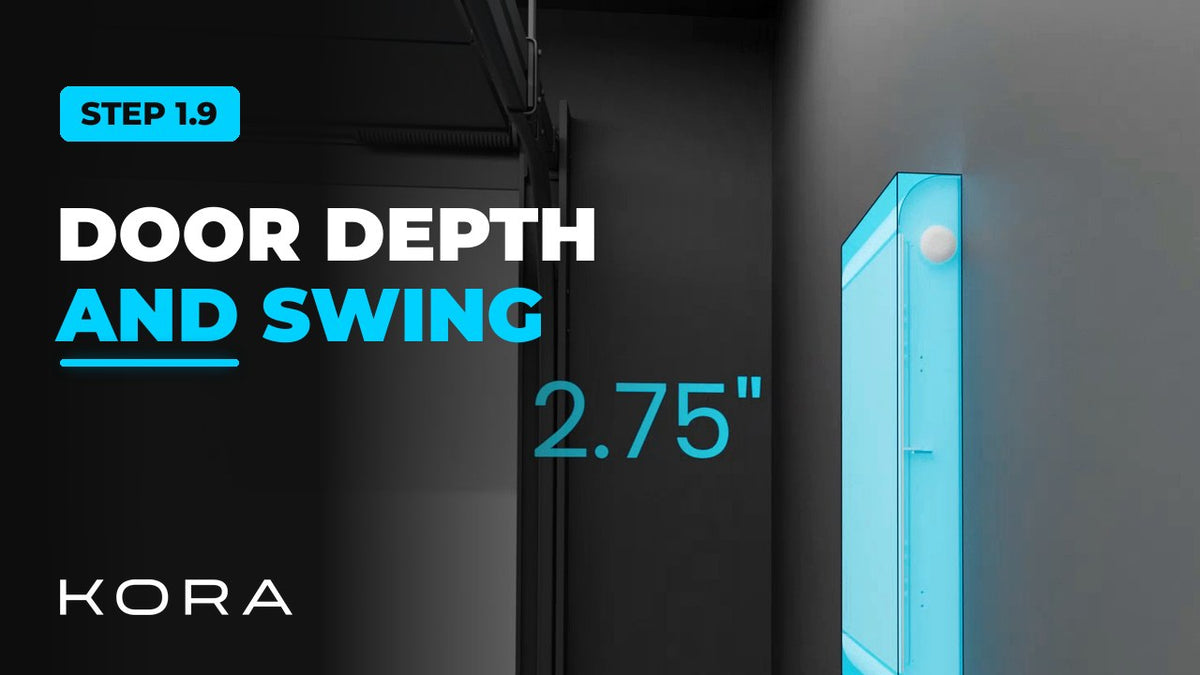
One thing to note on a flush-mount install: the Smart Panel door sits proud of the finished wall, by about 70 mm.

Leave enough depth and clear space around it for the door to sit square and swing clean, and keep the door, hinge and display window clear when you finish the wall.

What to check

  • Allow for the door projecting past the finished wall
  • Leave room for the door to sit square and swing fully open
  • Seal and finish the recess per local code

Part of the Kora Smart Panel installation series for licensed electricians installing the Kora Founders Edition. Previous: 1.8 Conductor Prep and Isolating Every Source. Next: 2.1 Whole-Home Backup: Smart Panel as Main Panel.

From the manual

The matching pages from the Kora Smart Panel & Powerblocks Installation Manual. Always follow the manual and local code.

  • Kora installation manual page 30: 4.2 Smart Panel Clearances
    Manual p. 30 – 4.2 Smart Panel Clearances
  • Kora installation manual page 88: 12.2 Seal and Finish (Recessed)
    Manual p. 88 – 12.2 Seal and Finish (Recessed)

Keep reading

View all

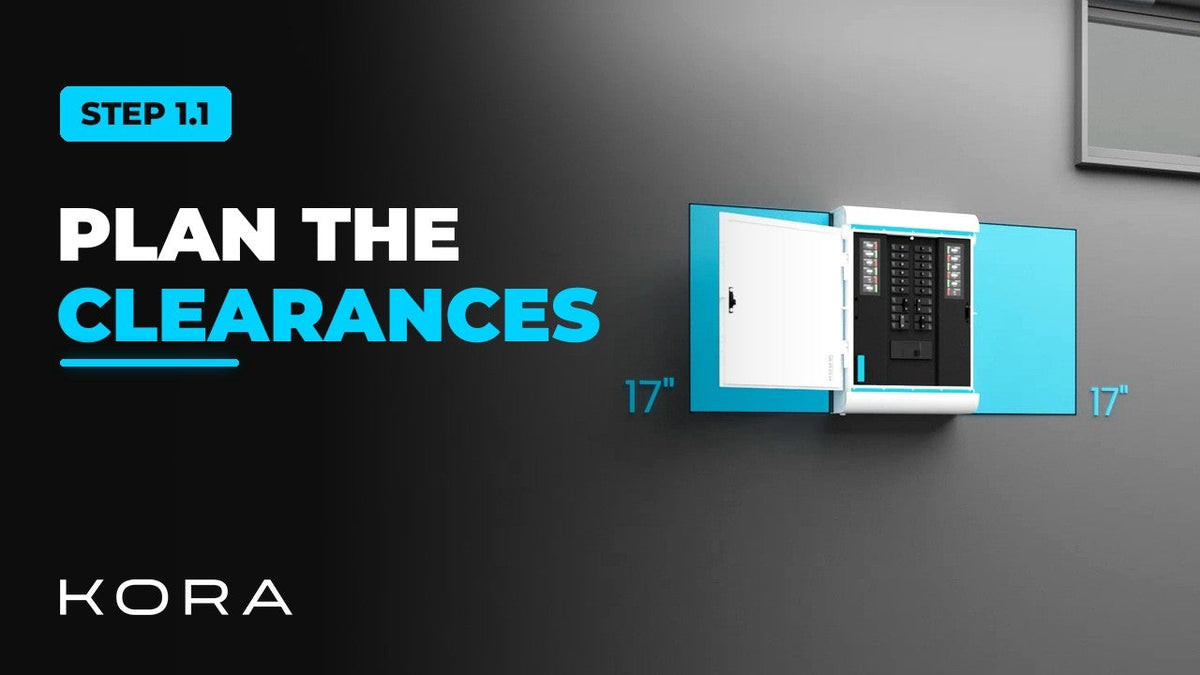
Kora Founders Edition Install 1.1 | Smart Panel Clearances and Location

Kora Founders Edition Install 1.1 | Smart Panel Clearances and Location

Plan where the Kora Smart Panel goes and confirm the working clearances before anything goes on the wall.

Read more

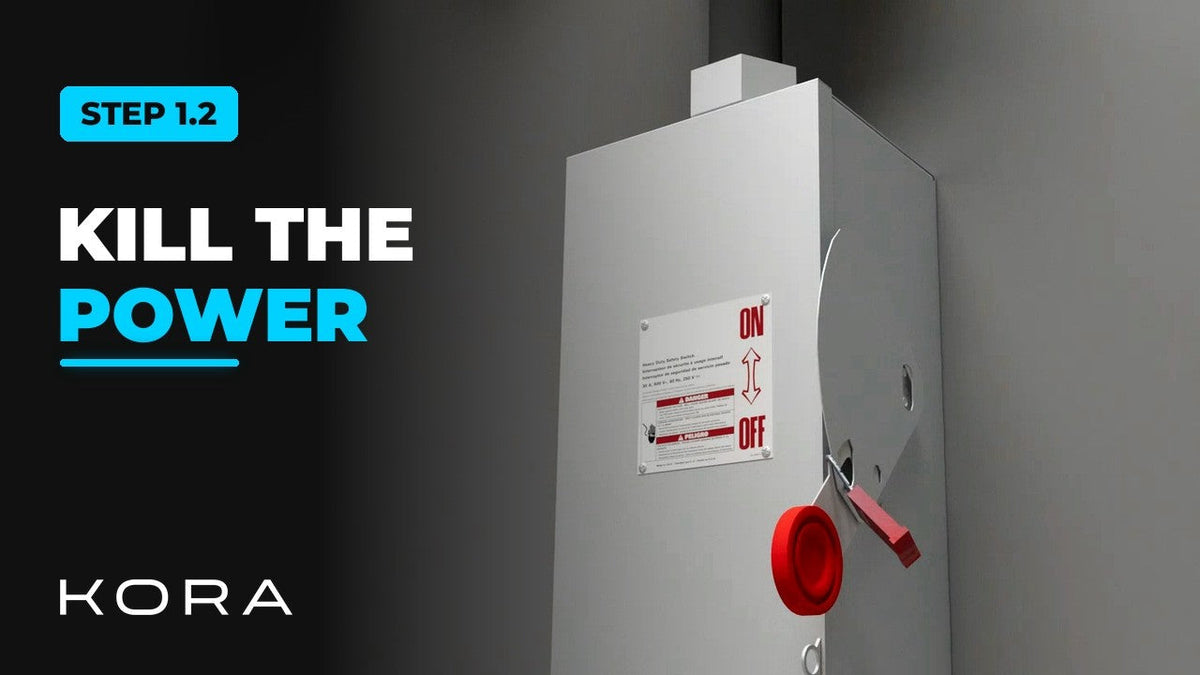
Kora Founders Edition Install 1.2 | Kill the Power: Lockout/Tagout

Kora Founders Edition Install 1.2 | Kill the Power: Lockout/Tagout

Shut off the service and make the work area safe before you touch a single wire.

Read more

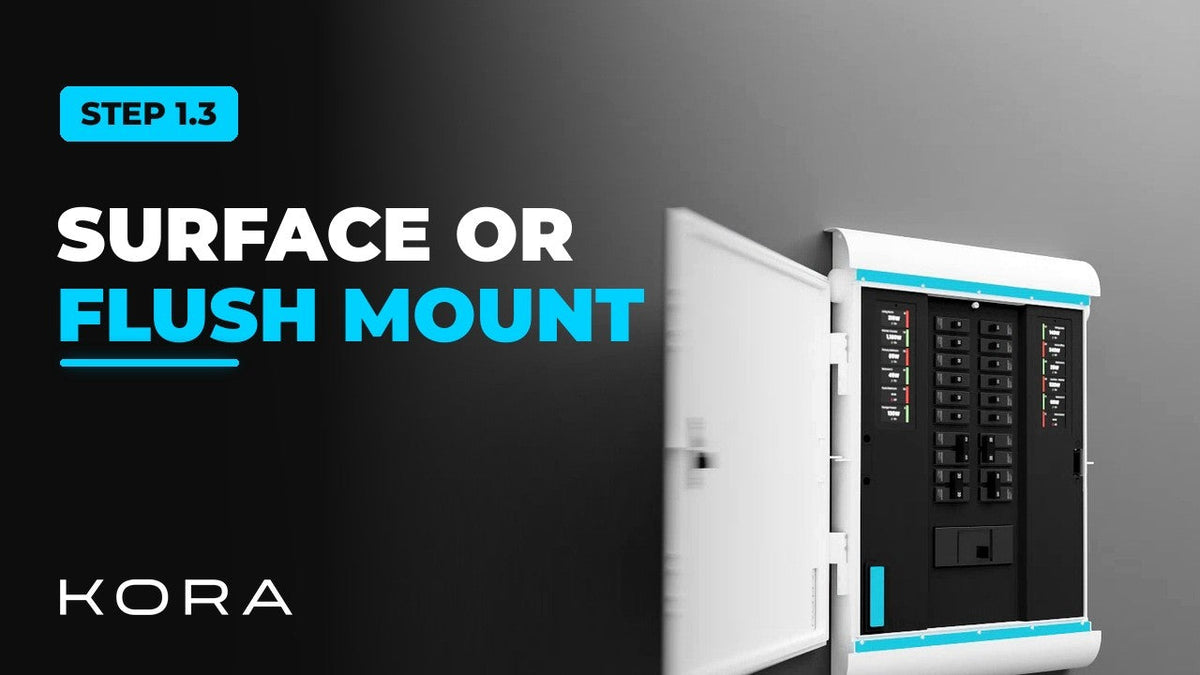
Kora Founders Edition Install 1.3 | Surface Mount vs. Flush Mount

Kora Founders Edition Install 1.3 | Surface Mount vs. Flush Mount

Choose between surface mounting the Kora Smart Panel and flush mounting it into the wall.

Read more