Kora Founders Edition Install 1.6 | Set and Level the Main Assembly

Set the Smart Panel main assembly into the recess, level and plumb it, and lock it down.

1 min read

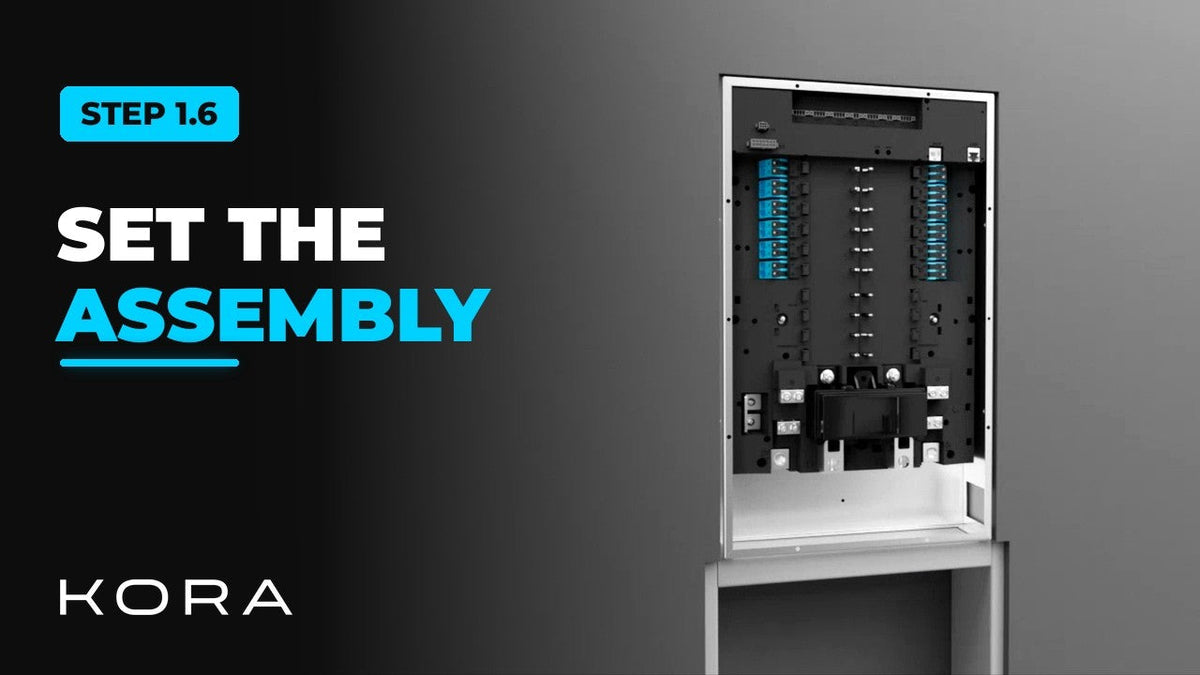
With the recess ready, set the Smart Panel main assembly into the wall. Two installers should lift it into the cavity.

Take the time to get it level and plumb in both directions before you fasten it. The door and display only sit right if the assembly is square.

Key steps

  • Place the main assembly in the recess
  • Check that it is level and plumb in both directions
  • Lock it down with the mounting hardware

Part of the Kora Smart Panel installation series for licensed electricians installing the Kora Founders Edition. Previous: 1.5 Flush-Mount Recess and Backing. Next: 1.7 Cut, Strip and Land the Mains.

From the manual

The matching pages from the Kora Smart Panel & Powerblocks Installation Manual. Always follow the manual and local code.

  • Kora installation manual page 49: 8.4 Mounting, Option B: Flush Mount
    Manual p. 49 – 8.4 Mounting, Option B: Flush Mount

Keep reading

View all

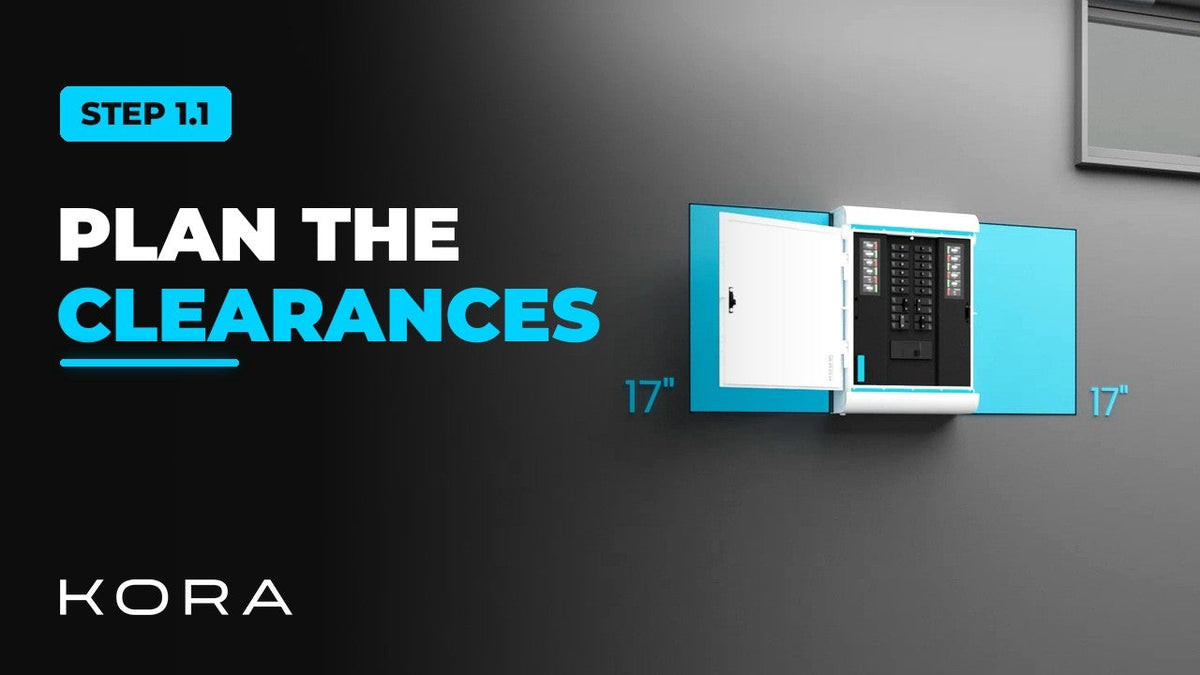
Kora Founders Edition Install 1.1 | Smart Panel Clearances and Location

Kora Founders Edition Install 1.1 | Smart Panel Clearances and Location

Plan where the Kora Smart Panel goes and confirm the working clearances before anything goes on the wall.

Read more

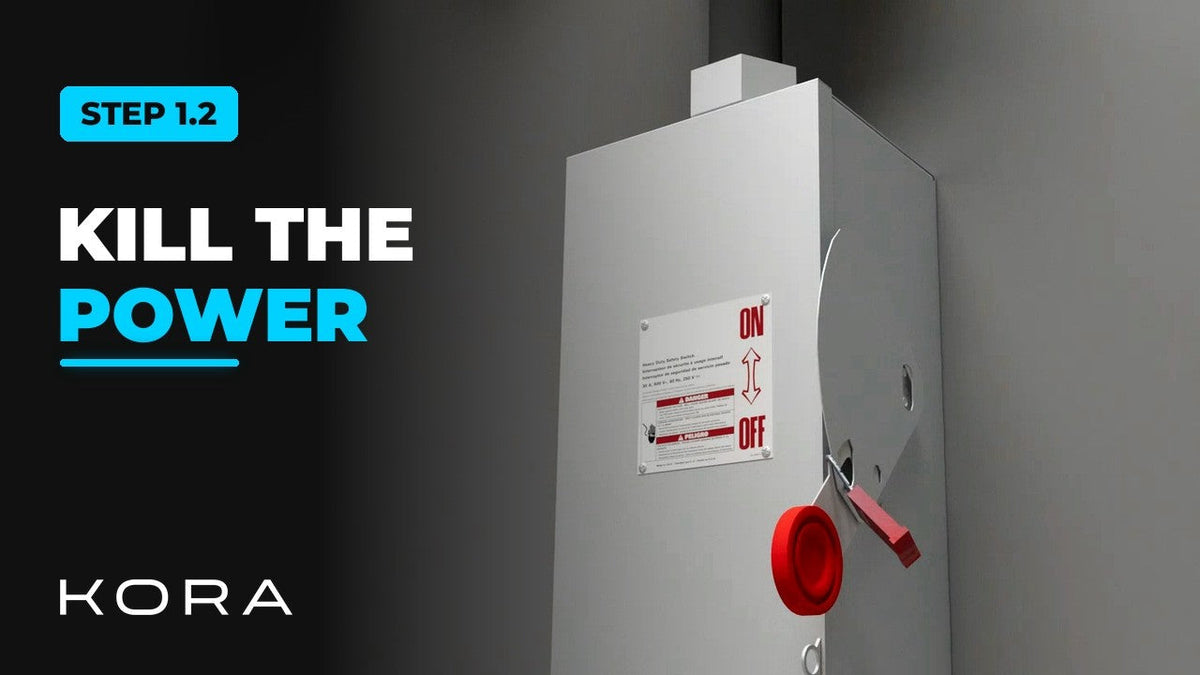
Kora Founders Edition Install 1.2 | Kill the Power: Lockout/Tagout

Kora Founders Edition Install 1.2 | Kill the Power: Lockout/Tagout

Shut off the service and make the work area safe before you touch a single wire.

Read more

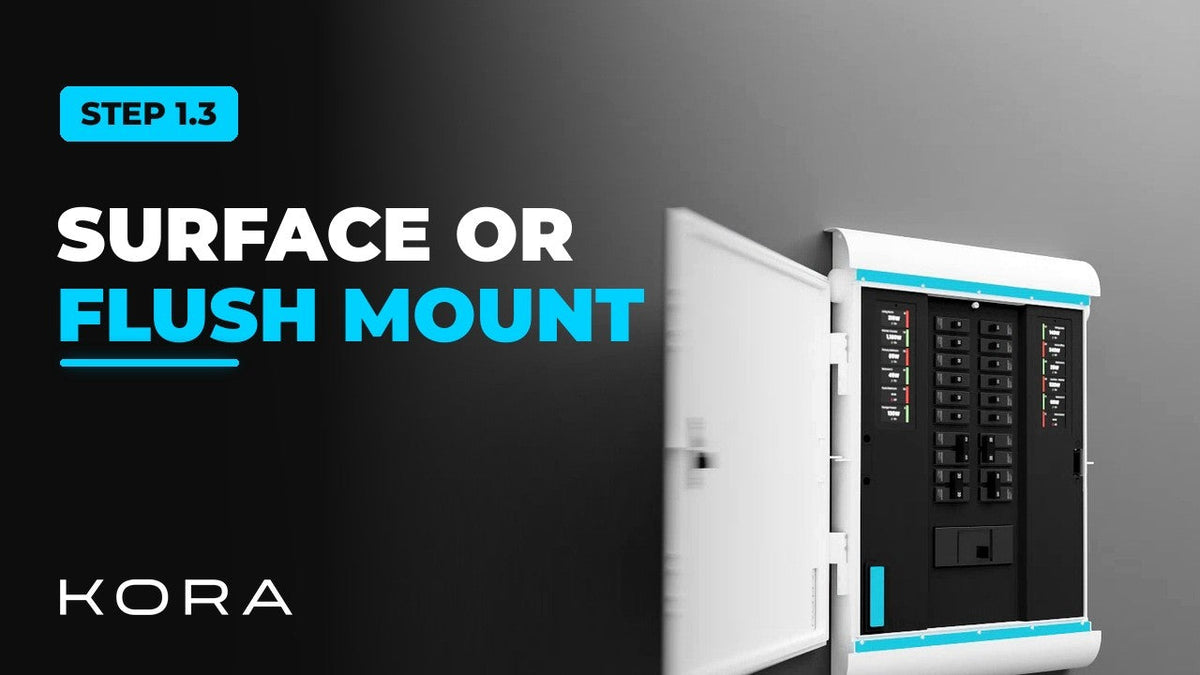
Kora Founders Edition Install 1.3 | Surface Mount vs. Flush Mount

Kora Founders Edition Install 1.3 | Surface Mount vs. Flush Mount

Choose between surface mounting the Kora Smart Panel and flush mounting it into the wall.

Read more