Kora Founders Edition Install 2.10 | Smart Panel Installed: Next, Powerblocks

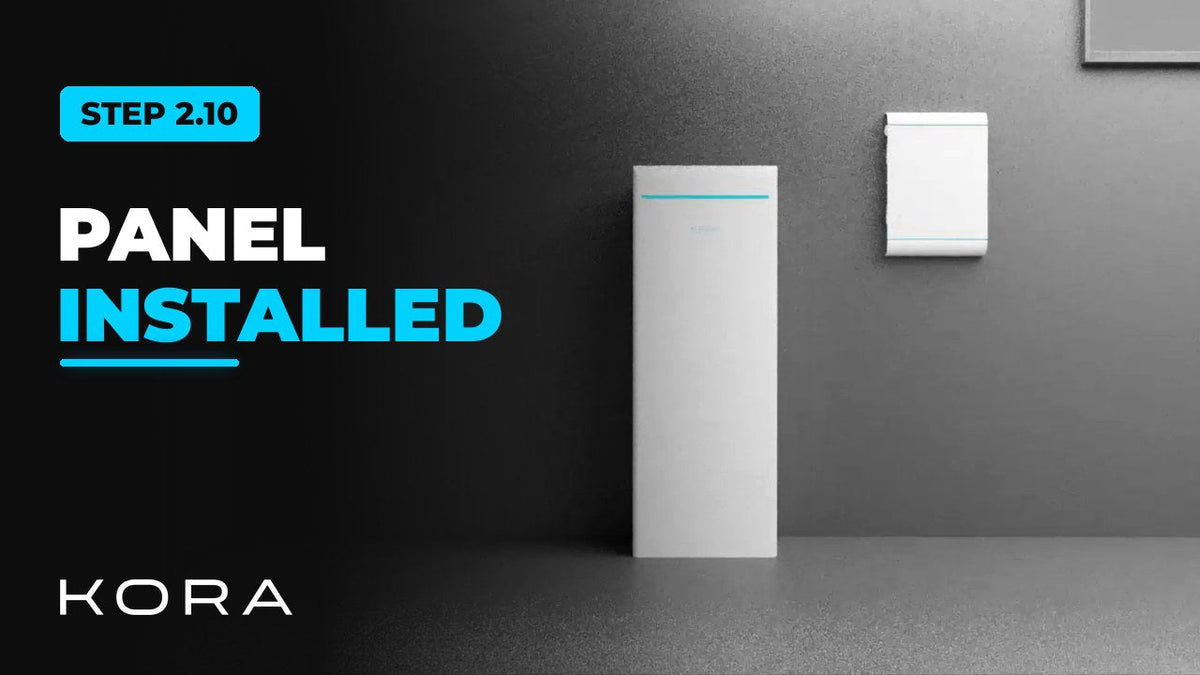
The Kora Smart Panel is mounted and wired. Next, bring in the Powerblocks.

1 min read

Your Kora Smart Panel is installed: mounted, wired to the grid, branch circuits landed, CTs on, network and E-stop connected.

Next, bring in the Powerblocks to set up backup power. Step 3 of the series covers clearances, building the tower, breaker layout, communications and power-up.

Part of the Kora Smart Panel installation series for licensed electricians installing the Kora Founders Edition. Previous: 2.9 Wiring the Emergency Stop (E-Stop). Next: 3.1 Powerblocks Overview and Box Contents.
Keep reading

View all

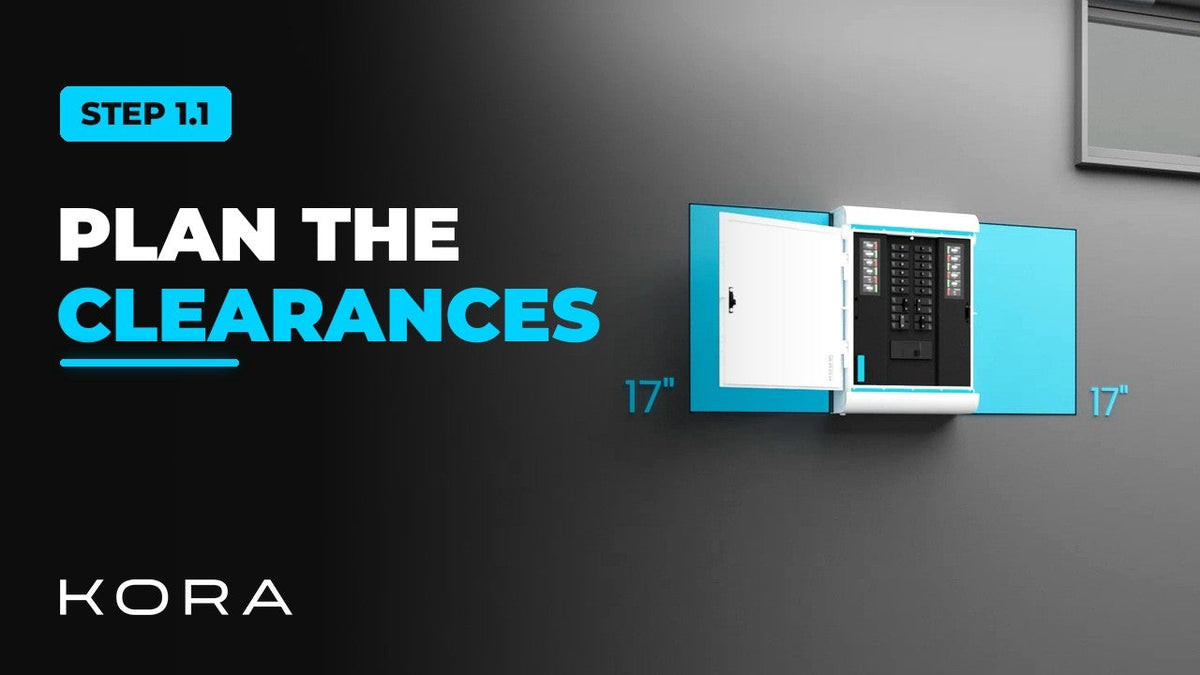
Kora Founders Edition Install 1.1 | Smart Panel Clearances and Location

Kora Founders Edition Install 1.1 | Smart Panel Clearances and Location

Plan where the Kora Smart Panel goes and confirm the working clearances before anything goes on the wall.

Read more

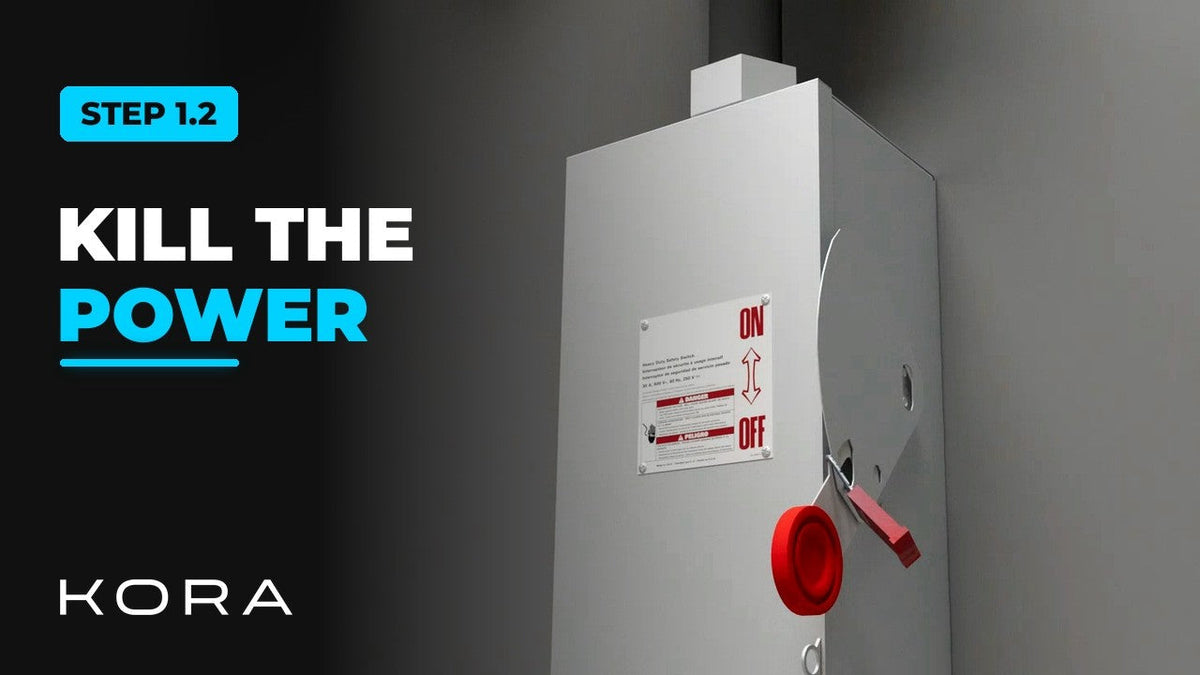
Kora Founders Edition Install 1.2 | Kill the Power: Lockout/Tagout

Kora Founders Edition Install 1.2 | Kill the Power: Lockout/Tagout

Shut off the service and make the work area safe before you touch a single wire.

Read more

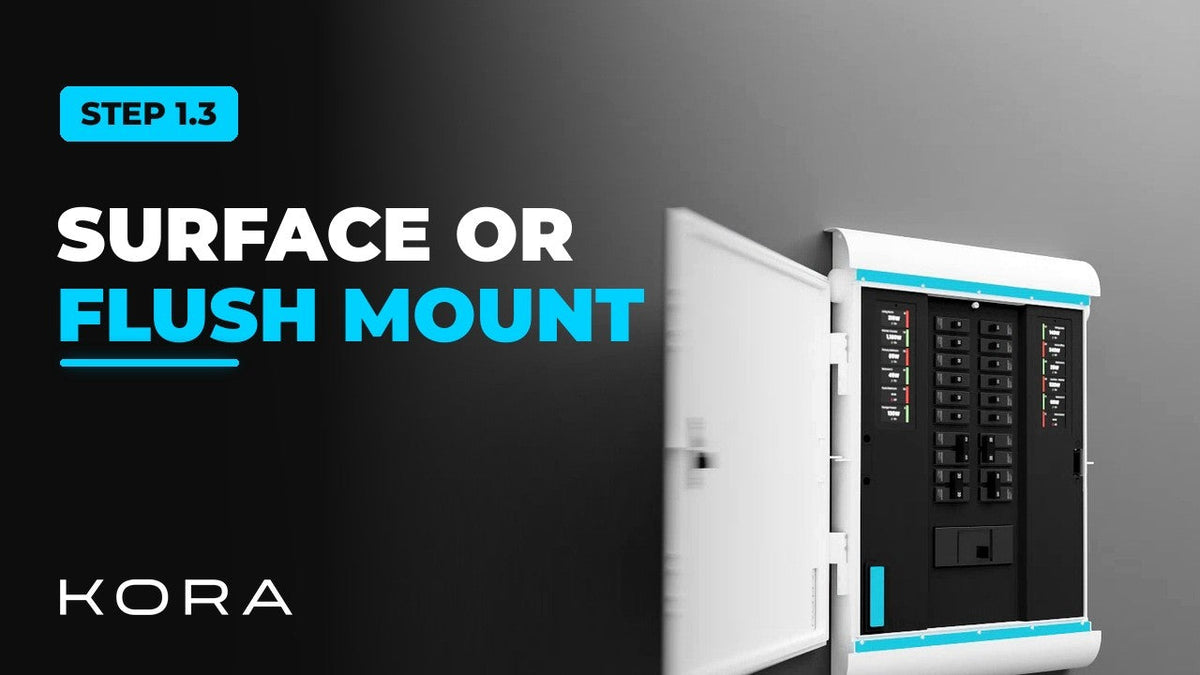
Kora Founders Edition Install 1.3 | Surface Mount vs. Flush Mount

Kora Founders Edition Install 1.3 | Surface Mount vs. Flush Mount

Choose between surface mounting the Kora Smart Panel and flush mounting it into the wall.

Read more